Table of Contents
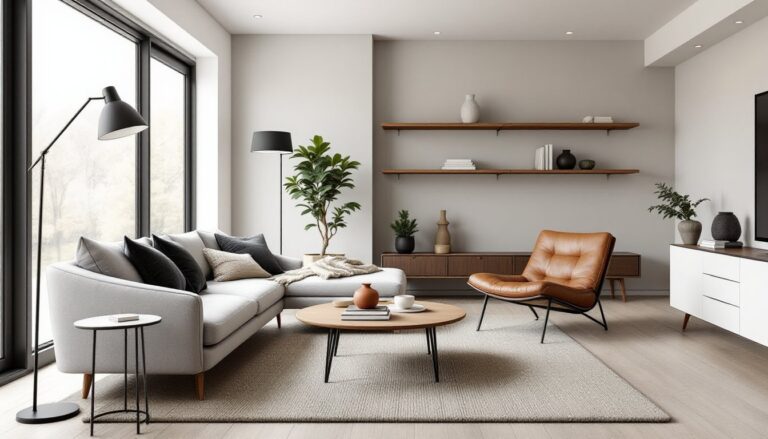
ToggleEmpty walls feel like missed opportunities. The right art doesn’t just fill blank space, it sets mood, creates focal points, and pulls together furniture, color schemes, and lighting into a cohesive whole. Whether someone’s working with a sprawling feature wall or a cramped apartment setup, wall art transforms a room from functional to finished. This guide walks through practical, achievable approaches to selecting, arranging, and styling living room wall art, no interior design degree required. From scale and proportion to budget-friendly DIY hacks, these ideas help homeowners nail the look without overthinking it.
Key Takeaways
- Living room wall art should fill two-thirds to three-quarters of the furniture width beneath it, with the center hung at 57–60 inches from the floor for optimal gallery-style placement.
- Gallery walls and mixed-media textures—like woven hangings, metal sculptures, and layered canvas—add dimension and visual interest that flat prints alone cannot achieve.
- Budget-friendly DIY wall art projects, from framed fabric on stretcher bars to abstract paintings and wood plank stenciling, deliver personalized results for under $25–50.
- Mirrors function as both artistic focal points and practical design elements, bouncing light and expanding perceived space when positioned opposite windows or on long walls.
- Coordinate living room wall art with furniture placement, leaving 6–8 inches of clearance above pieces like sofas and consoles, and layer artwork with lighting to create a cohesive design statement.
- Command strips, removable hooks, and picture rails allow flexible art arrangements without wall damage, making updates and seasonal rotations simple for renters and design enthusiasts.
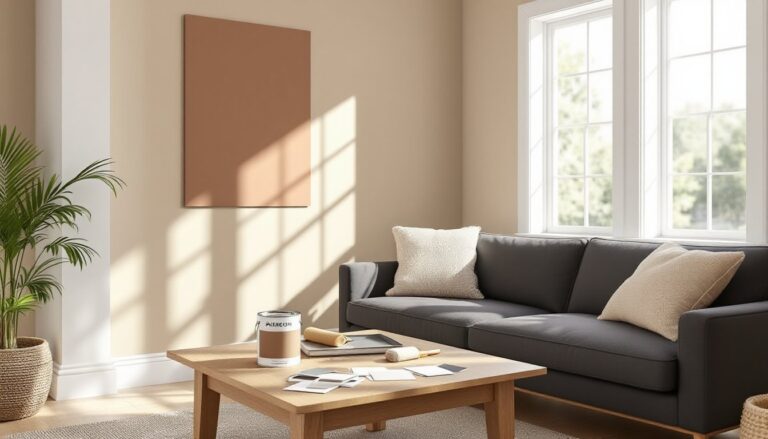
Choose the Right Art Scale for Your Wall Space
Scale is where most DIYers stumble. A tiny 8×10 print on a 12-foot wall looks lost: an oversized canvas crammed above a narrow console feels claustrophobic. The general rule: art should fill two-thirds to three-quarters of the furniture width beneath it. For a standard 84-inch sofa, that’s roughly 56 to 63 inches of art width, either one large piece or a multi-piece arrangement.
Measure the wall height, too. Most living rooms have 8-foot ceilings (actual ceiling height after drywall and flooring is closer to 92–94 inches). Hang art so the center sits at 57 to 60 inches from the floor, standard gallery height that aligns with average eye level. If the ceiling’s higher, adjust upward slightly but keep proportion in mind.
For feature walls or above a fireplace, go bigger. A single 48×60-inch canvas or a clustered gallery spanning similar dimensions creates impact without looking sparse. Test placement with painter’s tape on the wall before committing to nail holes. It’s easier to adjust tape than patch and repaint drywall.
Smaller rooms benefit from fewer, larger pieces rather than a cluttered collage. In tight quarters, one bold statement piece draws the eye without overwhelming limited square footage. Conversely, expansive walls in open-concept layouts can handle multi-panel installations or diptychs that stretch across broader spans.
Create a Gallery Wall That Tells Your Story
Gallery walls offer flexibility, mix photography, prints, textiles, and even three-dimensional objects like shadow boxes or vintage finds. The key is a unifying thread: color palette, frame style, subject matter, or spacing.
Start by laying out the arrangement on the floor. Use kraft paper templates taped to the wall to visualize spacing before hammering a single nail. Aim for 2 to 3 inches between frames for a cohesive look: tighter spacing feels intentional, while wide gaps read as unfinished.
For hanging, a laser level and picture-hanging strips (like Command strips rated for the frame weight) simplify the process. Traditional wire and D-rings work fine but require locating studs or using drywall anchors rated for the load. A 16×20 framed print with glass can weigh 5–8 pounds: check anchor packaging for weight limits.
Many designers recommend the “salon style” approach seen in modern farmhouse spaces, asymmetrical arrangements anchored by one or two larger pieces, with smaller frames filling gaps organically. Alternatively, a grid layout (uniform frames, evenly spaced) delivers clean, contemporary order that suits minimalist interiors.
Mix and Match Frame Styles
Matching frames create visual calm, but mixing materials, wood, metal, acrylic, adds depth. Combine a chunky reclaimed wood frame with slim black metal and a white-painted molding frame for layered interest. Keep one element consistent (all black-and-white photos, or all warm metallics) to prevent chaos.
Thrift stores and estate sales offer inexpensive frame stock. Strip old finishes with a heat gun (wear safety goggles and work outdoors or in a well-ventilated area), then refinish with spray paint or wood stain. Sand lightly with 120-grit sandpaper before priming to ensure adhesion. This approach saves money and yields one-of-a-kind pieces that reflect personal style rather than mass-market sameness.
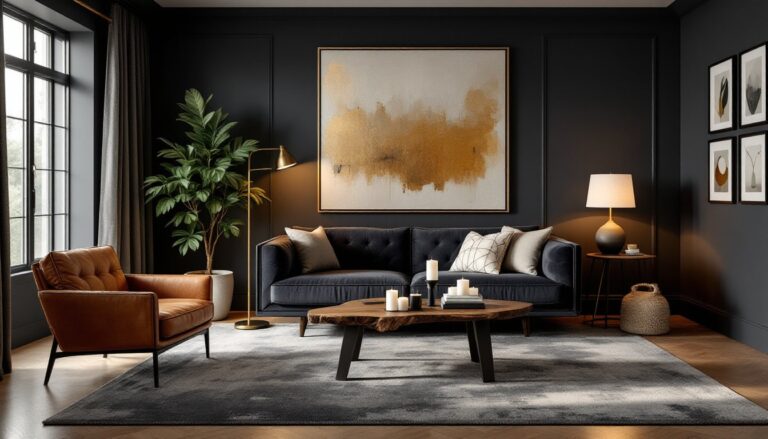
Incorporate Texture with Mixed Media Art
Flat prints have their place, but texture, woven wall hangings, metal sculptures, layered canvas, introduces tactile dimension that photographs can’t replicate. Macramé, rattan baskets arranged as wall decor, or a reclaimed wood panel all bring warmth and visual variety.
Fiber art (tapestries, woven pieces) softens hard surfaces like drywall and adds acoustic dampening, a subtle bonus in echo-prone rooms with hardwood or tile flooring. Mount heavier textile pieces on a wooden dowel secured to the wall with screws driven into studs. Use a stud finder: drywall alone won’t support anything over a pound or two.
Metal wall sculptures work well in industrial or modern interiors. Look for powder-coated finishes that resist rust if humidity’s a concern. Install with heavy-duty wall anchors (toggle bolts or molly bolts rated for 20+ pounds) if studs aren’t conveniently located.
Layered canvas, where multiple canvases overlap or sit at varying depths, creates shadow play that shifts with natural light throughout the day. Build simple depth by mounting smaller canvases on ¾-inch plywood spacers behind the main piece, then hanging the assembly as one unit. Secure with appropriate anchors: combined weight can exceed 15 pounds.
Mixed media doesn’t mean mismatched. In elegant living rooms, a single textured piece anchors a refined palette without clutter. Balance is key, too many textures compete for attention.
Try Budget-Friendly DIY Wall Art Projects
Custom art doesn’t require a four-figure budget or an MFA. Simple DIY projects deliver personalized results for the cost of materials and a Saturday afternoon.
Framed fabric or wallpaper samples make instant art. Stretch fabric over stretcher bars (pre-assembled canvas frames sold at craft stores) and staple on the back with a staple gun. A 16×20 frame costs around $8–12: fabric remnants run $5–15 per yard. Total investment: under $25.
Large-scale abstract painting is surprisingly forgiving. Buy a pre-primed canvas (gessoed and ready to paint), acrylic paints in two to four coordinating colors, and wide brushes or foam rollers. Block out geometric shapes with painter’s tape, roll on color, peel tape for crisp lines. No artistic skill required, just patience while paint dries between layers (typically 1–2 hours for acrylics).
Another option: wood plank art. Rip a few 1×6 or 1×8 pine boards to matching lengths (a circular saw or miter saw handles this: many home centers offer free cuts). Sand smooth with 120-grit sandpaper, arrange side by side, and secure with cross-bracing on the back using wood glue and 1¼-inch brad nails. Stain or paint as desired, then stencil a quote, monogram, or geometric pattern. Finish with polyurethane for durability.
Safety note: Wear a dust mask when sanding or cutting wood: fine particulate irritates lungs. Use ear protection with power saws.
Printable art from design sites offers another low-cost route. Download high-resolution files, print at a local print shop on heavyweight matte paper (80 lb or higher), and frame. Quality varies, so preview files at 100% zoom before purchasing. Ideas from design experts often highlight affordable printable options that rival gallery pieces.
Use Mirrors as Artistic Wall Features
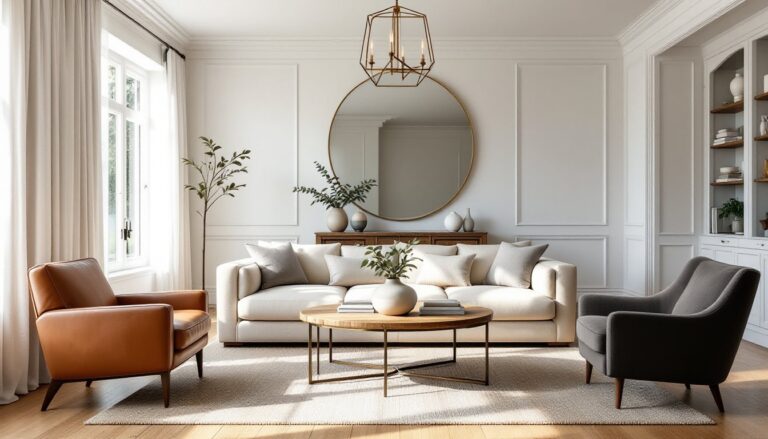
Mirrors double as functional art, bouncing light and expanding perceived space, critical in smaller layouts. A statement mirror with an ornate frame or unique shape (sunburst, geometric, arched) serves as a focal point, much like a painting.
Place mirrors opposite windows to maximize natural light reflection. In narrow rooms, a large horizontal mirror on the long wall visually widens the space. Avoid mirroring blank walls or clutter: the reflection should enhance, not highlight problem areas.
Frameless beveled mirrors in a grid arrangement deliver modern minimalism. Use mirror adhesive (like Loctite PL530) plus mirror clips for safety: mirrors are heavy and dangerous if they fall. A 24×36-inch mirror weighs 12–20 pounds depending on thickness. Always secure to studs or use heavy-duty anchors rated for at least double the mirror’s weight.
Antique or vintage mirrors from salvage yards add character. Check for silvering damage (dark spots where the reflective backing has degraded), minor spots add patina, but extensive damage looks dingy rather than charming. Re-silvering is possible but often costs more than the mirror’s worth.
In cozy living rooms, mirrors amplify soft lighting from lamps and candles, reinforcing warmth. Pair with sconces flanking the mirror for layered illumination that serves both form and function.
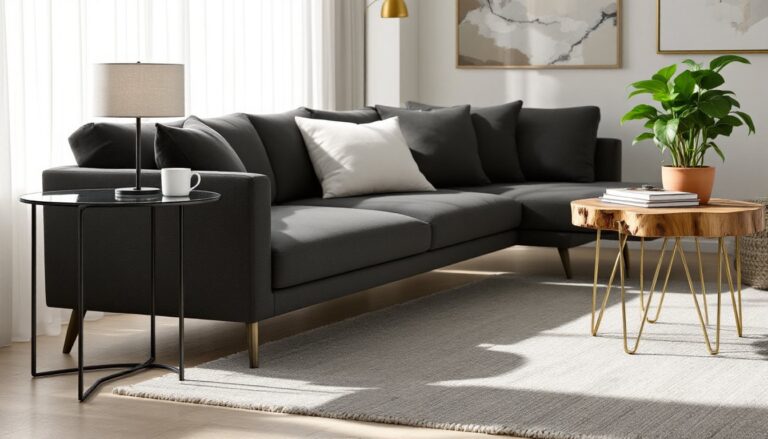
Style Your Wall Art with Furniture and Lighting
Art doesn’t exist in a vacuum, furniture placement and lighting elevate or undermine even the best pieces. Start with furniture. Anchor art above key pieces: the sofa, console table, or fireplace mantel. Leave 6 to 8 inches of clearance between the furniture top and the art’s bottom edge. Too much space disconnects the elements: too little feels cramped.
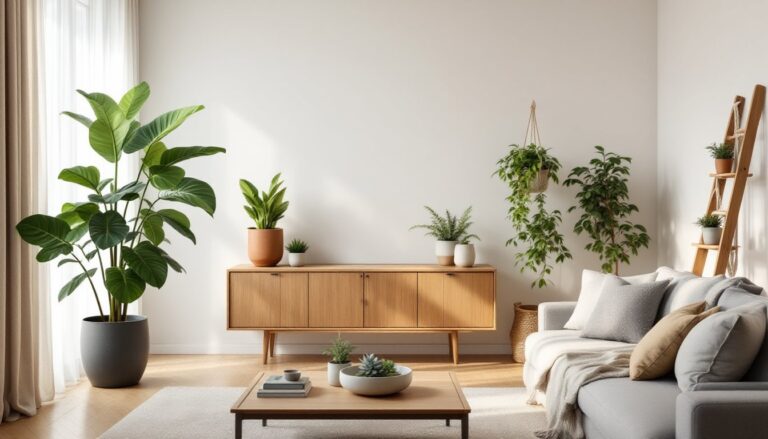
Layering works well on mantels or console tables. Lean a large framed piece against the wall, then layer smaller frames, sculptural objects, or greenery in front. This casual approach suits boho aesthetics and breaks up the rigidity of traditional hanging.
Lighting transforms art from decoration to design statement. Picture lights (small fixtures mounted above the frame) provide focused illumination but require hardwiring or battery operation. For renters or DIYers avoiding electrical work, battery-powered LED picture lights offer flexibility. Alternatively, position adjustable track lighting or wall-mounted swing-arm sconces to highlight art without permanent installation.
Avoid direct sunlight on valuable prints or original work: UV rays fade pigments over time. Use UV-filtering acrylic glazing instead of glass in frames, or position art on walls perpendicular to windows. Experts at House Beautiful often recommend this strategy for preserving color vibrancy.
In small living rooms, coordinating art with existing furniture colors unifies the space. Pull accent colors from the art into throw pillows, rugs, or curtains for a curated, intentional look. This ties disparate elements together without requiring a full redesign.
Finally, don’t overthink permanence. Command strips, removable hooks, and picture rails allow rotation without wall damage, ideal for renters or anyone who likes seasonal updates. Art should evolve with the space, not feel locked in forever.