Table of Contents
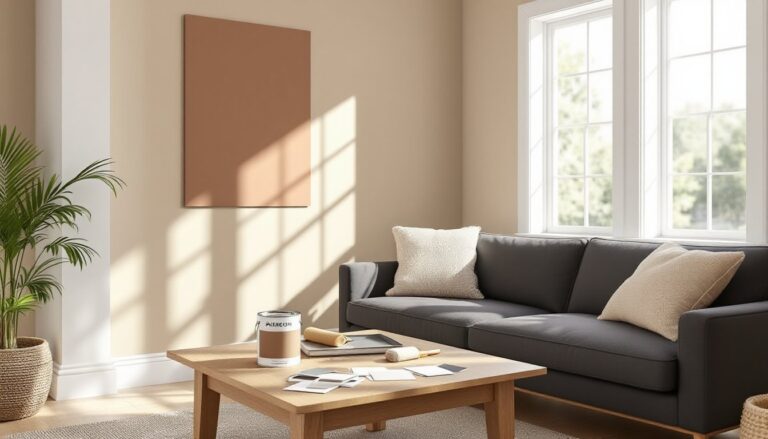
ToggleA 12-foot stretch of blank drywall can turn a spacious living room into an echoing showroom nobody wants to sit in. Large walls demand intentional design, not because they’re ugly, but because they’re powerful focal points that either anchor a space or expose every decorating misstep. Whether dealing with vaulted ceilings, open-concept layouts, or awkwardly tall walls, homeowners need strategies that balance scale, visual weight, and personal style without turning the room into a museum or a catalog page.
Key Takeaways
- Large living room wall decor requires intentional design that considers proportion and scale, as standard small pieces get lost on expansive surfaces.
- Oversized art (48×72 inches or larger) or gallery walls with proper spacing (2–6 inches between frames) can anchor large walls without creating visual dead zones.
- Mirrors and reflective elements amplify natural light and create depth, but large mirrors (50–80 pounds) must be secured to studs with heavy-duty hardware, not drywall anchors.
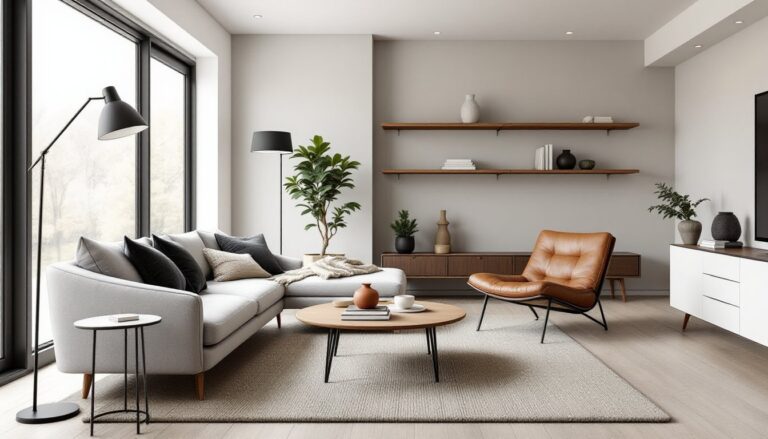
- Three-dimensional accents like shiplap, board-and-batten, floating shelves, and metal sculptures add texture and architectural interest that flat art alone cannot achieve.
- Budget-friendly DIY options—such as custom canvas frames ($30–60), painted geometric patterns, and thrifted frame collections—deliver designer impact without premium costs.
- Proper mounting and safety are critical: always locate studs for pieces over 30 pounds, use tempered glass for large mirrors, and maintain 8–10 inches of clearance above furniture to avoid a cramped appearance.
Why Large Walls Need a Different Decorating Approach
Standard 8×10 prints and single floating shelves get swallowed on expansive walls. The issue isn’t the decor itself, it’s proportion.
Large walls operate on different visual math. A piece that commands attention in a hallway becomes a postage stamp on a 10×14-foot surface. The human eye reads empty space as intentional minimalism up to a point: beyond that, it registers as unfinished.
Vertical and horizontal scale both matter. A wall that’s 9 feet tall but only 6 feet wide needs vertical emphasis. A wall stretching 16 feet horizontally with standard 8-foot ceilings calls for layered horizontal arrangements. Ignoring this balance creates awkward dead zones that no amount of throw pillows can fix.
Structural considerations also apply. Drywall anchors rated for 50 pounds won’t support a 60-pound mirror, no matter how good the toggle looks. Locating studs (the vertical 2×4 or 2×6 framing members behind drywall, typically spaced 16 or 24 inches on center) becomes critical when hanging heavy art, shelving, or architectural elements. Use a stud finder, and if mounting anything over 30 pounds, drive screws directly into studs or use appropriate hollow-wall anchors rated for the load.
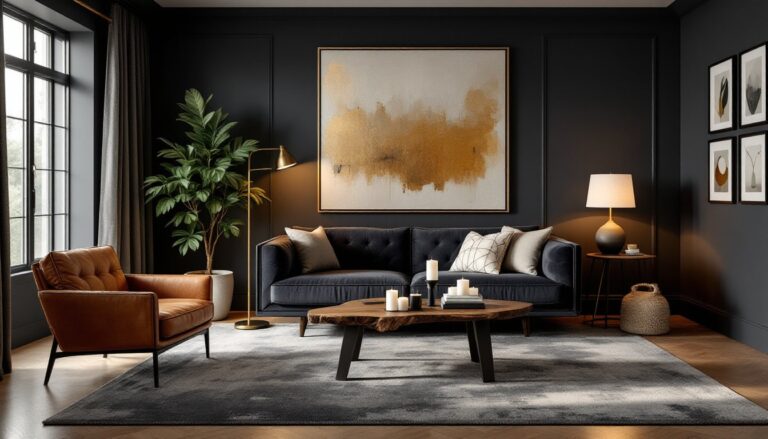
Statement Art and Oversized Canvas Prints
A single oversized piece, 48×72 inches or larger, can anchor a large wall without additional filler. This approach works best when the art has enough visual complexity (color variation, texture, or subject detail) to hold attention from across the room.
Canvas prints stretch images over wooden frames, eliminating the need for glass and reducing weight. They’re lighter than framed prints of similar size, which simplifies mounting. Expect a 60×40-inch canvas to weigh 8–12 pounds, while a comparable framed print with glass can hit 25–30 pounds.
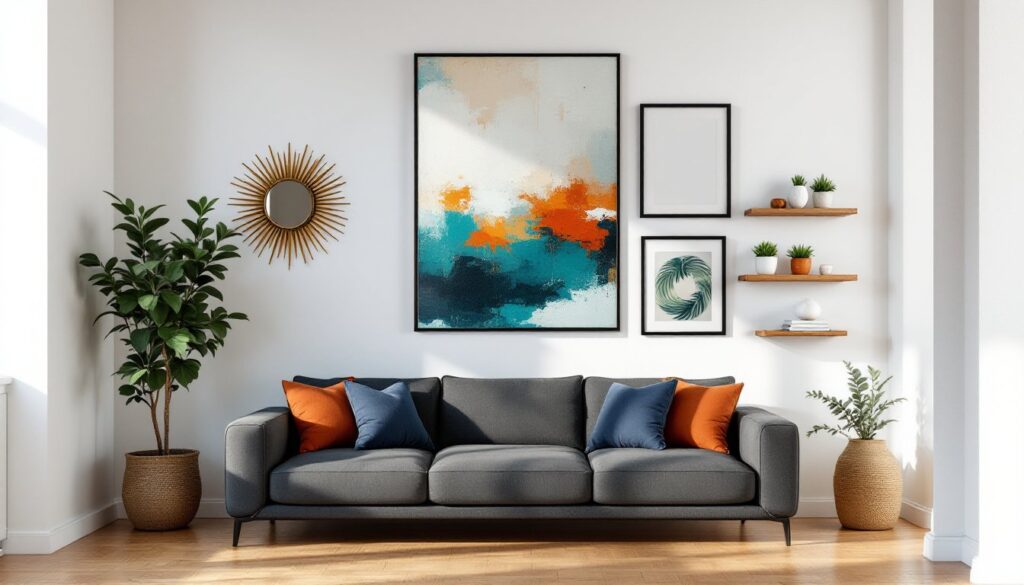
For bold color palettes, abstract art or large-scale photography can echo existing accent hues without exact matching. A teal-and-rust abstract plays well in a room with terracotta pillows and navy seating.
Hanging height matters. The center of the artwork should sit at 57–60 inches from the floor, gallery standard that aligns with average eye level. On walls with high ceilings, resist the urge to hang art near the ceiling line: it disconnects from the furniture below and feels like it’s floating away.
When selecting oversized art, consider the room’s function. A chaotic, high-contrast piece energizes a casual media room but overwhelms a serene reading nook. Many interior design resources emphasize matching art intensity to the room’s purpose.
Gallery Walls: Creating Visual Impact Through Curated Collections
Gallery walls solve the scale problem by distributing visual weight across multiple pieces. Done right, they create a cohesive focal point. Done poorly, they look like a thrift store exploded.
Planning beats impulse. Lay out the arrangement on the floor or use kraft paper templates taped to the wall before driving a single nail. This prevents the “Swiss cheese drywall” problem that happens when spacing doesn’t work.
Key layout strategies:
- Grid arrangement: Uniform frame sizes in even rows and columns. Clean, modern, works well with matching mats and frames. Requires precise measurement, use a level and measure from a consistent baseline.
- Salon-style: Mixed frame sizes and styles with tighter spacing (2–3 inches between frames). More forgiving of imperfect alignment but needs a unifying element, same mat color, similar frame finish, or a consistent color palette in the art.
- Horizontal line: Align the top or bottom edges of all frames along an invisible line, varying heights above or below. Good for long, low walls behind sofas.
Spacing guidelines: 3–6 inches between frames for salon walls, 2 inches for grid layouts. Maintain at least 8–10 inches of clearance above furniture to avoid a cramped look.
Frame weight adds up quickly. Fifteen small frames at 2 pounds each still total 30 pounds. Use appropriate wall anchors and distribute load when possible. For rental-friendly options, adhesive picture-hanging strips rated for the frame weight work on painted drywall but fail on textured or porous surfaces.
Consider incorporating dimensional accents alongside flat art to add depth.
Mirrors and Reflective Elements for Depth and Light
Mirrors do double duty on large walls: they fill space and amplify natural light. A 60×36-inch floor mirror leaned against a wall (secured with furniture anchors to prevent tipping) can make a 12×14-foot room feel 20% larger by reflecting windows and architectural details.
Placement strategy matters. Position mirrors to reflect something worth seeing, a window with a view, attractive lighting, or a well-styled area. A mirror reflecting a blank wall or cluttered corner just doubles the problem.
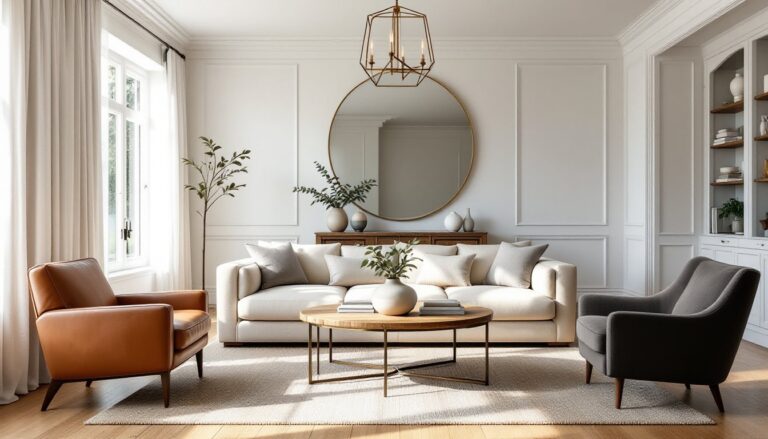
Framed mirrors add decorative weight. An ornate wood or metal frame in a finish that complements existing living room lighting fixtures ties the piece into the room’s overall design. Modern spaces lean toward frameless or thin metal frames: traditional rooms can handle heavier carved wood.
Sunburst mirrors (round mirrors with radiating metal or wood spokes) work as statement pieces but need adequate scale. A 24-inch sunburst disappears on a 10-foot wall: go for 36–48 inches minimum.
Mirror weight is deceptive. A 4×6-foot mirror can weigh 50–80 pounds depending on glass thickness (typically ¼ inch for large mirrors). This requires mounting into studs with heavy-duty D-rings and wire, not drywall anchors. If studs don’t align with the desired placement, install a horizontal mounting cleat (a strip of wood screwed into multiple studs) and hang the mirror from that.
Safety note: Large mirrors should have safety backing film or tempered glass to reduce injury risk if broken. This is especially important in homes with kids or in earthquake-prone areas.
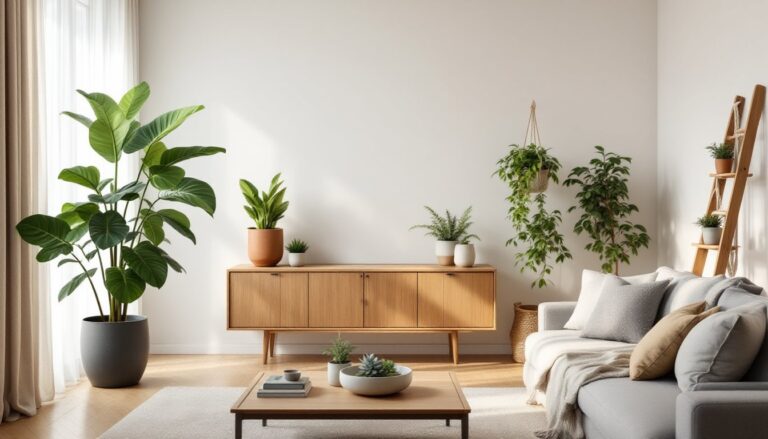
Architectural and 3D Wall Accents
Flat art isn’t the only option. Three-dimensional elements add shadow, texture, and architectural interest that photographs can’t replicate.
Wood plank walls (shiplap, board-and-batten, or reclaimed barn wood) create full-wall texture. Real wood runs $3–8 per square foot depending on species and finish: MDF or pine alternatives cost $1.50–4 per square foot. Installation requires a miter saw for clean cuts, a brad nailer for attachment, and basic carpentry skills. Planks typically attach to studs or horizontal furring strips.
Board-and-batten involves installing vertical boards (battens) over a flat backing, creating a paneled effect. It’s approachable for intermediate DIYers and adds depth without the cost of solid hardwood paneling.
Wall molding kits (also called picture frame molding or wainscoting panels) use MDF or polyurethane trim pieces to create geometric patterns. Install the frame outlines with construction adhesive and finish nails, then paint the entire wall for a unified look. This technique works particularly well in traditional or farmhouse-style rooms.
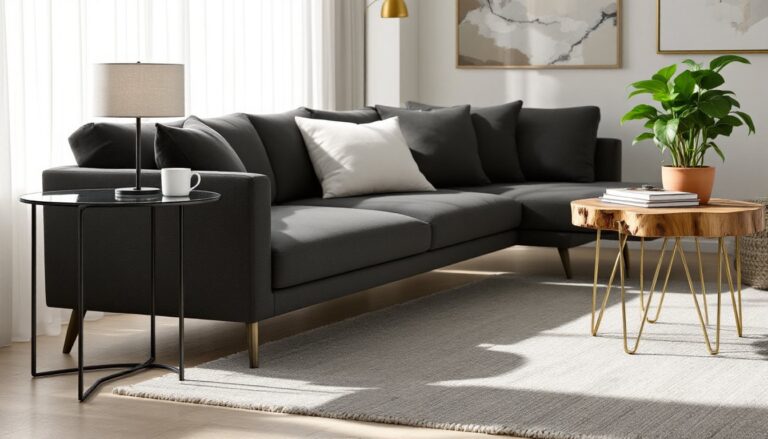
Metal wall sculptures and woven fiber art add warmth and dimension. Large-scale macramé pieces (4×6 feet) soften contemporary spaces, while abstract metal sculptures in bronze or matte black finishes complement modern or industrial design.
Floating shelves in a staggered arrangement provide both decor display and functional storage. Use shelves at least 10–12 inches deep for displaying books, plants, or decor objects without a cluttered look. Install with hidden brackets anchored into studs, each shelf should support 25–50 pounds depending on span length.
For inspiration on adding texture and architectural features, platforms like Homify showcase diverse international design approaches.
Budget-Friendly DIY Wall Decor Projects for Large Spaces
Large-scale decor doesn’t require designer price tags. Several DIY approaches deliver impact at a fraction of retail cost.
DIY oversized canvas: Stretch fabric (canvas drop cloth, linen, or printed textile) over a simple wood frame built from 1×2 furring strips. Total cost for a 5×7-foot piece runs $30–60 in materials. Secure fabric with a staple gun on the frame’s back side, pulling tight to avoid wrinkles. This method works for printed tapestries, painted fabrics, or even large-scale photography printed on fabric (available from online print services for less than traditional canvas printing).
Painted accent wall with geometric patterns: Painter’s tape and two or three paint colors create custom murals. A color-blocked wall (large horizontal or vertical sections in complementary hues) takes 4–6 hours including taping and two coats. Paint coverage averages 350–400 square feet per gallon for quality interior paint: a 10×8-foot wall needs less than a quart per color.
For homes with fireplaces as focal points, extending wall decor around the mantel creates balanced visual flow.
Large-scale photo grid: Print personal photos as 11×14 or 16×20-inch enlargements (under $15 each from online print services) and mount in inexpensive matching frames. A 3×3 or 4×3 grid fills substantial wall space for $100–150 total.
Removable wallpaper accent: Peel-and-stick wallpaper has improved dramatically. Modern versions adhere cleanly to painted drywall and remove without damage, making them rental-friendly. Covering one large wall runs $80–200 depending on pattern and wall size. This approach works especially well in coastal-themed spaces using ocean-inspired patterns.
Thrifted frame collection: Hit estate sales and thrift stores for mismatched frames, paint them a uniform color (matte black, white, or metallics), and create a salon wall. Frames cost $2–10 each: a 15-piece collection runs under $100. Fill with free printable art, fabric swatches, or pages from damaged vintage books.
Safety reminder: Wear eye protection when cutting wood, a dust mask when sanding, and work in ventilated areas when painting or using adhesives.
Conclusion
Large living room walls stop feeling like blank problems when treated as opportunities for intentional design. Whether it’s a single dramatic piece, a curated gallery arrangement, or a textured architectural treatment, scale and proportion drive success. The difference between “we need to do something about that wall” and “that’s the best part of the room” comes down to matching the solution to the space, securing it properly, and committing to the focal point.