Table of Contents
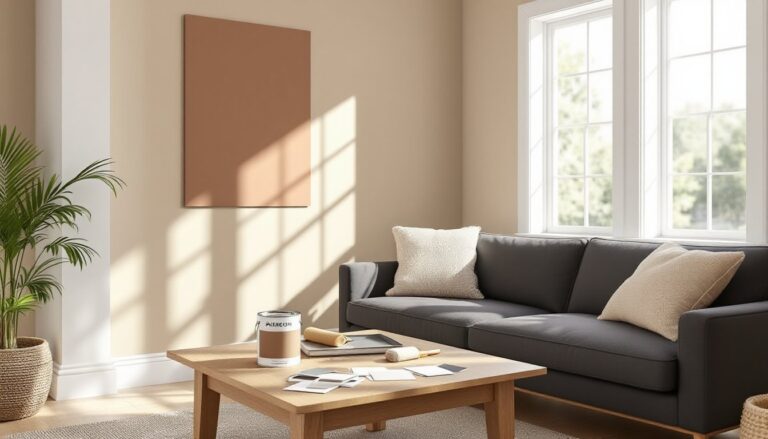
ToggleA well-curated photo wall turns a blank expanse into a conversation piece that personalizes your space like nothing else can. Unlike mass-produced art, a photo wall reflects your unique experiences, family gatherings, travel snapshots, or moments that matter most. It’s also one of the most approachable DIY projects for homeowners, requiring no specialized tools beyond a drill, level, and a bit of planning. Whether you’re working with a compact wall in a small space or a generous expanse above a sofa, the principles remain the same: thoughtful layout, cohesive framing, and proper installation technique. This guide walks through layout strategies, framing choices, creative alternatives, and step-by-step installation to help you build a photo wall that looks intentional, not haphazard.
Key Takeaways
- A photo wall personalizes your living room by showcasing unique experiences and family moments while filling vertical space without requiring specialized tools beyond a drill and level.
- Two dominant gallery wall layouts—grid style for contemporary spaces and salon style for eclectic interiors—each offer distinct visual effects, with grid layouts simplifying installation through consistent measurements.
- Keep your photo wall visually cohesive by limiting frame finishes to one or two styles, maintaining proportional mat widths, and using either black frames with white mats or natural wood finishes throughout.
- Creative alternatives to traditional frames like clip and cable systems, ledge shelves, magnetic boards, and canvas prints offer flexibility and cost-effective options for renters and frequent updaters.
- Proper planning prevents installation mistakes; use kraft paper templates taped to your wall to experiment with arrangements, mark hardware locations precisely, and check for studs before hanging frames heavier than 10 lbs.
Why a Photo Wall Transforms Your Living Room
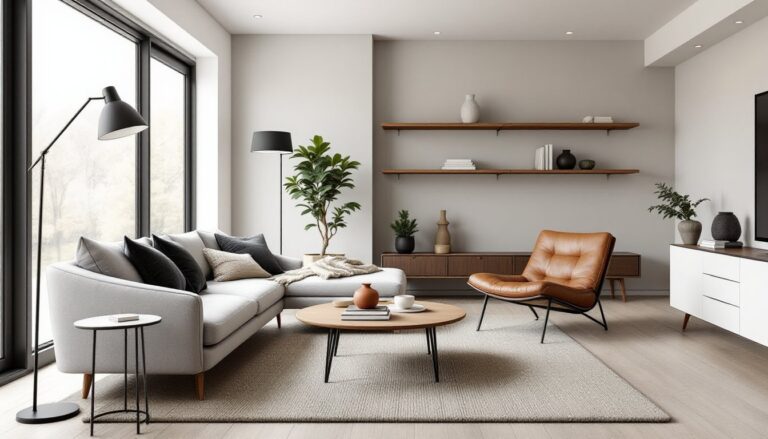
A photo wall anchors a room visually and emotionally. In homes with neutral or minimalist interiors, a photo wall introduces personality without clashing with existing color schemes for living. It fills vertical space that might otherwise feel empty, especially on large walls flanking staircases, above sectionals, or in areas with high ceilings.
From a design standpoint, photo walls create a focal point that draws the eye and balances out furniture placement. In smaller living rooms, a tightly curated gallery can make the space feel more intimate rather than cluttered, provided the layout is intentional.
Beyond aesthetics, a photo wall is a flexible, evolving installation. Unlike wallpaper or built-in shelving, you can swap out images seasonally, add new frames as your collection grows, or rearrange without major commitment. This adaptability makes it ideal for renters and homeowners alike.
Finally, it’s cost-effective. High-quality frames are available at various price points, and printing photos has never been cheaper. You control the budget by choosing frame materials, print sizes, and whether you DIY the installation or hire help.
Gallery Wall Layouts That Make a Statement
The layout determines whether your photo wall feels cohesive or chaotic. Two dominant styles offer different visual effects, and both work well in living rooms depending on your aesthetic goals.
Grid Style: Clean and Contemporary
A grid layout uses identical frame sizes arranged in evenly spaced rows and columns. This approach works beautifully in modern or minimalist interiors where symmetry and order are priorities. Common configurations include 3×3, 4×4, or 2×5 grids, though the dimensions depend on your wall size.
Key specs:
- Frame spacing: 2 to 3 inches between frames, both horizontally and vertically
- Frame size consistency: All frames should be identical (e.g., all 8×10 or all 11×14)
- Matting: Optional, but if used, keep mat widths uniform across all frames
Grid layouts simplify installation because you’re working with repeating measurements. Use a laser level or chalk line to mark horizontal and vertical guides before drilling. This layout pairs well with black-and-white photography or images with similar tonal ranges.
Salon Style: Eclectic and Artistic
Salon-style galleries mix frame sizes, orientations (portrait and landscape), and sometimes frame finishes for a curated, collected-over-time look. This layout has roots in 18th-century European art salons and suits eclectic, traditional, or boho living rooms where personality trumps precision.
Key considerations:
- Start with a anchor piece, the largest frame, typically centered or slightly off-center
- Build outward, balancing smaller frames around the anchor
- Maintain relatively consistent spacing (1.5 to 3 inches between frames)
- Use paper templates taped to the wall to experiment with arrangements before committing to holes
Salon walls benefit from varied frame styles, mixing wood tones, metallics, or painted finishes, but keep a unifying element such as all black-and-white photos, similar mat colors, or a cohesive subject matter. According to design experts at MyDomaine, salon walls work best when the outer perimeter forms a rough geometric shape (rectangle, square, or organic outline) rather than trailing off asymmetrically.
Choosing Frames and Matting for Visual Cohesion
Frame and mat choices directly impact whether your photo wall feels intentional or thrown together. Even budget frames look polished when selected with a cohesive strategy.
Frame materials and finishes:
- Wood frames in natural oak, walnut, or painted finishes suit farmhouse, traditional, or mid-century modern styles
- Metal frames (aluminum, brass, or black steel) work in industrial, contemporary, or minimalist spaces
- Composite or MDF frames offer affordability and come pre-finished in black, white, or metallics, ideal for grid layouts where you need multiples
For cohesion, limit yourself to one or two frame finishes across the entire wall. A common approach: all black frames with white mats, or all natural wood with no mats.
Matting guidelines:
- Standard mat width: 2 to 3 inches on all sides for 8×10 to 11×14 prints
- Double matting (two mats layered with a slight reveal of the inner mat) adds depth and a custom look
- White and off-white mats are versatile and keep focus on the photos: colored mats can tie into room accents but risk looking dated
If mixing frame sizes, keep mat widths proportional, don’t use a 4-inch mat on a small 5×7 frame and a 1-inch mat on a 16×20.
Glass vs. acrylic glazing:
- Standard glass: Affordable, scratch-resistant, but heavy and prone to glare
- UV-protective glass: Prevents fading, worth it for valuable prints or walls with direct sunlight
- Acrylic (plexiglass): Lightweight, shatter-resistant, but scratches more easily: good for large frames or high-traffic homes with kids
Skip non-glare glass if your wall won’t catch direct light, it can dull image sharpness.
Creative Alternatives to Traditional Photo Frames
Frames aren’t the only option. Alternative display methods can reduce cost, add texture, or suit specific interior styles.
Clip and cable systems:
Metal or wooden dowels suspended from the ceiling or mounted to the wall with clips or small clamps let you swap photos without removing hardware. This works well in cozy living rooms with a casual, layered vibe. Use picture-hanging wire or thin steel cable, and attach prints with binder clips or small wooden clothespins.
Ledge shelves:
Shallow picture ledges (typically 2 to 4 inches deep) mounted in a staggered or stacked arrangement let you layer frames, lean unframed prints, and mix in small objects like candles or plants. IKEA’s MOSSLANDA and similar products are popular, but you can also build custom ledges from 1×2 or 1×3 lumber with a routed lip to prevent frames from sliding.
Magnetic boards or pegboards:
Paint a section of wall with magnetic primer (requires 3–4 coats for decent hold), then attach photos with decorative magnets. Alternatively, mount a pegboard panel and use hooks or clips. Both options offer maximum flexibility for frequent updates.
Washi tape and command strips:
For renters or commitment-phobes, modern design platforms suggest using washi tape to create faux frames directly on the wall, securing prints with adhesive poster strips. This approach works for lightweight prints and is damage-free when removed.
Canvas prints and metal prints:
Frameless options like gallery-wrapped canvas (image printed and wrapped around a wooden stretcher frame) or metal prints (dye-sublimation onto aluminum) offer a contemporary look. These typically come with keyhole or bracket mounting hardware on the back, simplifying installation.
If mixing framed and frameless media, keep the overall arrangement balanced, don’t cluster all the canvases on one side.
Planning and Installing Your Photo Wall Step-by-Step
Proper planning prevents a wall full of misaligned holes and frustration. Most failed photo walls result from skipping the template stage or not accounting for stud locations.
Step 1: Measure and map your wall
Measure the total wall area you want to cover. For walls above furniture, start at least 6 to 8 inches above the sofa back or console. Mark the outer boundaries with painter’s tape to visualize the footprint.
Step 2: Create paper templates
Trace each frame onto kraft paper or newspaper, cut out the templates, and label them. Tape templates to the wall, adjusting until the arrangement feels balanced. Step back frequently, what looks good up close may feel off from across the room. Proper lighting for living rooms helps you assess the layout in realistic viewing conditions.
Step 3: Mark hardware locations
Once templates are positioned, mark the hanging hardware location on each template (measure from the top of the frame to the hanging point, usually a D-ring, sawtooth hanger, or wire at tension). Use a center punch or nail to poke through the paper at the exact spot, transferring the mark to the wall.
Step 4: Locate studs (when possible)
Use a stud finder to locate wall studs. For heavier frames (over 10 lbs), anchor into studs with #8 wood screws, 1.5 to 2 inches long. If studs don’t align with your layout, use drywall anchors rated for the frame weight. Toggle bolts or molly bolts work well for frames over 20 lbs on drywall.
Step 5: Install hardware and level each frame
Drill pilot holes to prevent drywall cracking, then install screws or anchors. Hang frames and use a torpedo level to ensure each is plumb before moving to the next. For grid layouts, check alignment horizontally and vertically as you go, small errors compound quickly.
Safety and PPE:
Wear safety glasses when drilling overhead to protect from falling debris. Use a dust mask if drilling into plaster or older drywall that may contain lead paint.
Pro tip: If you’re unsure about anchor capacity or working with lath-and-plaster walls common in older homes, consult a handyman. Pulling frames off the wall along with chunks of drywall is avoidable with the right hardware.